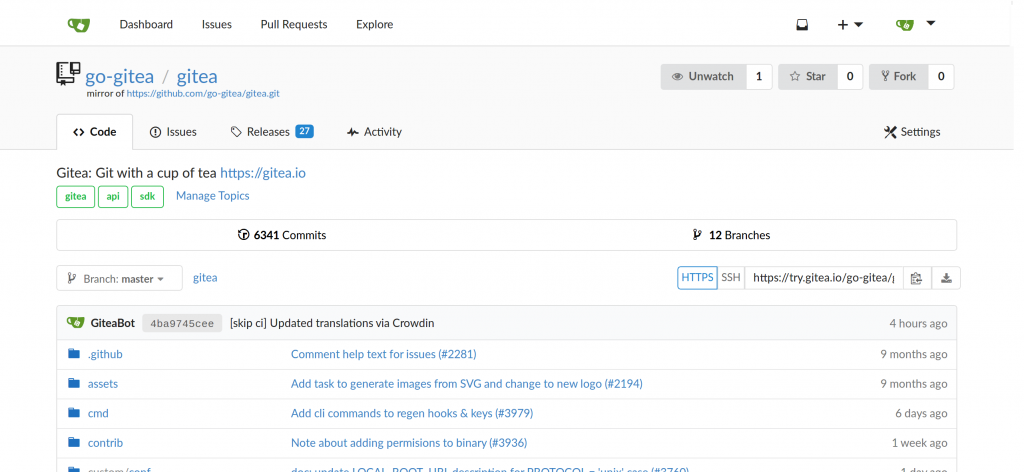
Gitea is a painless self-hosted Git service. It is similar to GitHub, Bitbucket, and GitLab. Gitea is a fork of Gogs and written in Go which makes it cross-platform supported. If you’re thinking about self-hosting Git I highly recommend you look into this project.
Assuming you’re like me and you’ve found that you want to tweak some things in Gitea here is a guide on how to do that.

Getting Started
To get started you’ll need to clone the Gitea repo from GitHub.
The best instructions you’ll find for building Gitea and getting it running on your machine can be found in the official documentation.
Creating a New Theme
To create a new theme there are a couple of files you need to update. First you’ll need to update the app.ini file. This can be located in many different places. Usually in your local environment it will be in the custom/ folder. In my development server where I installed Gitea from package so on my development server the file was located at: /etc/gitea/app.ini
In the INI file, you’ll either need to add the following lines or change them to what you want to call your theme:
[ui]
DEFAULT_THEME = mytheme
THEMES = mytheme
Then you need to create your theme’s .css file in the custom/public/css/ folder and title it theme-mytheme.css. After creating this file restart Gitea and this .css file will be automatically loaded.
Note, making changes to your stylesheet does NOT require you to restart Gitea. You can see those changes just by refreshing your browser.
Modifying the Templates
Many times adding a CSS file is not enough to accomplish what you need. If you find that you want to change the HTML you do so by copying the .tmpl file you want to modify from the templates/ folder and add it to your custom/ folder using the same folder structure.
Let’s say you want to add a link to your Terms of Service on your login page.
First, you copy the file templates/user/auth/signup_inner.tmpl to custom/user/auth/signup_inner.tmpl.
Now, modify custom/user/auth/signup_inner.tmpl and add the following code:
<div class="required inline field">
    <label for="terms">I agree to the <a href="/terms">terms and conditions</a></label>
    <input id="terms" name="terms" value="1" autocomplete="off" required />
</div>
This doesn’t do any backend validation but it should serve as a good example of what you can do.
Remember every time you make a change to your .tmpl files you need to restart Gitea.
Deploying Your Changes
You don’t need to build Gitea to apply any of the changes I mentioned above. Just take all of the files in your custom/ folder and deploy them to the custom/ folder on your server. Restart Gitea and you’re good to go.
You need to login in order to like this post: click here